Hello! I’m Stacey and I’m here to teach you how to knit a simple cushion cover. *waves*
Do you ever see something and say “oh I’m not buying one of those, I can make that!”?
It happens to me often. Whether I can actually make it or not. Never mind that I have 40 other projects on the go, and I’ve come to the conclusion that I actually loathe knitting.
And it’s all this cushion’s fault.
Don’t get me wrong – it’s the easiest thing in the world, or I’d never have made it. It just helped me realise that:
a) I can only knit in straight lines
b) I find it very stressful because I still don’t know what to do if I drop a stitch, so pay very close attention to NOT dropping any and NOT making any mistakes so I’m all wired and crazy
c) It takes too long
d) crochet I am so sorry I cheated on you, PLEASE TAKE ME BACK, I LOVE YOU! DESPERATELY!
But I battled on and I’m actually quite pleased with the result. I saw a simple knit cushion cover at a friend’s house and totally thought I could make it at home, and there you go – I did. And you can too!
Update: I’ve seen the error of my ways! Knitting is awesome, and I’m actually knitting more often than crochet these days. I can finally pick up a dropped stitch WHO KNEW IT WAS SO EASY?!!!
Knit a simple cushion cover
What you’ll need to knit a simple cushion cover is:
2 balls soft 8ply yarn (I used Carnival yarn from Big W)
6mm knitting needles
a length of yarn for sewing the sides
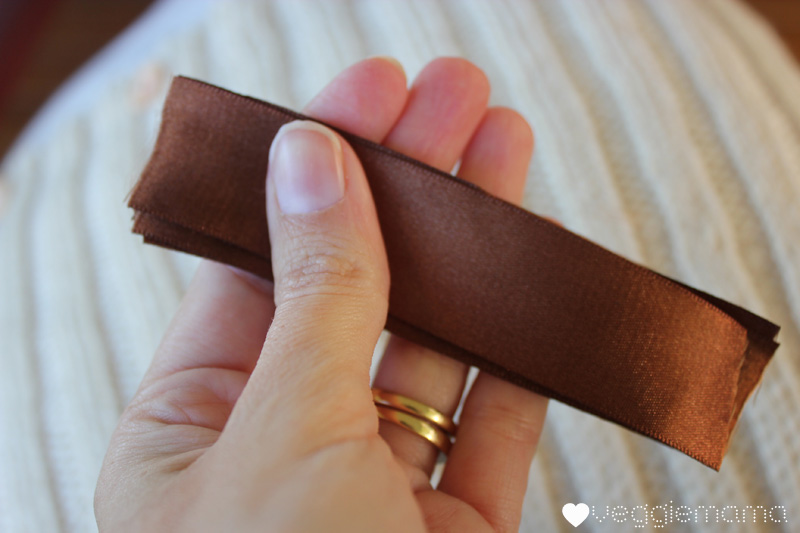
five or six pieces of ribbon about 3-4 inches long
sewing needle and thread
five or six buttons
First step: Cast on 80 stitches.
Next step: Knit 2, purl 2 for 200 rows.
That’s it.
I knit 150 rows because I was over it and it was taking too long and I had other things I wanted to make!
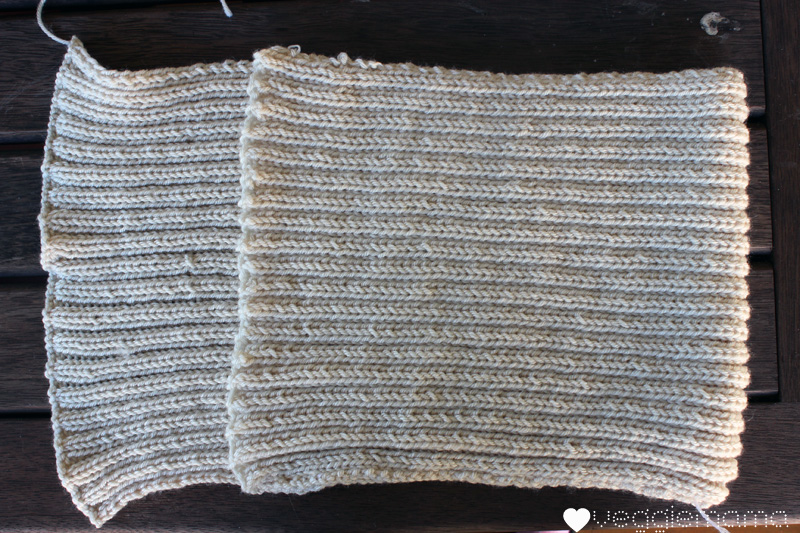
Third step: Fold your work in half, with a flap of about 10 inches left over at the top (mine is shorter, so ignore the measurement in the photo).
Fourth step: Tie your binding yarn into a knot at the folded edge. Use slip stitch to “sew” shut the sides of your work. Your hook goes under both loops of both stitches (the things that look like little hearts).
This is how it should look from the bottom after you’ve slip stitched along the open edge. Hopefully your nails will be nicer than mine.
This has nothing to do with anything, just what my kids were doing while I was working. Remind me to pot that lime tree, will you?
Thanks.
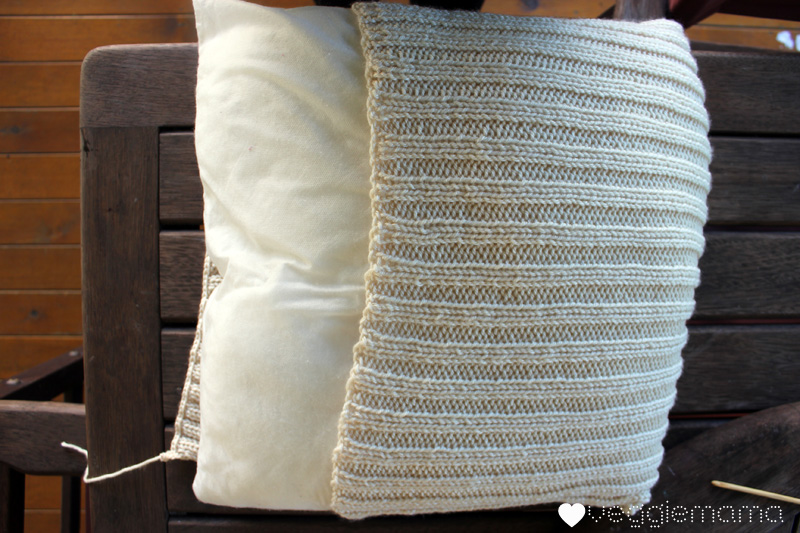
Fifth step: Ok when you’ve fastened off and repeated the same slip stitching on the other open side, it’s time to shove your pillow in. Here’s where it gets fun, because the work stretches and you get to see the lovely knit/purl pattern.
Sixth step: Cut your ribbon into lengths, if you haven’t already done so, fold in half to create a loop and sew the unfolded end in even spaces across the leftover flap at the top. Do it about 2.5-3 inches above the end of the work, so when you fold it over to secure with the buttons, there’s no gap showing your naked cushion underneath.
With the cushion in the cover, as in the picture above, you would sew the flaps onto the underside of the flap. They will then be in the right place when it’s folded over.
Seventh step: sew your buttons on in the corresponding areas under your ribbon. Or do this vice versa, whatever works for you! I used five buttons, but I’m thinking a sixth would have been helpful. Loop the ribbon around the buttons. Weave in your loose threads.
You could also sew the flap sides shut, if you’re not concerned about taking it off to wash. I’m lazy so they’re staying unsewn.
Depending on how awesome you are, this could either be the front or the back of your cushion.
I am not awesome. This is definitely the back.
So, go ahead, knit yourself a snuggly cushion. Feel free to ask any questions, I don’t seem to be terribly good at describing knitting terms, so I hope I haven’t been too vague.
Yay!
*Edited to add: I used a 40cm x 40cm cushion*
Want other patterns?